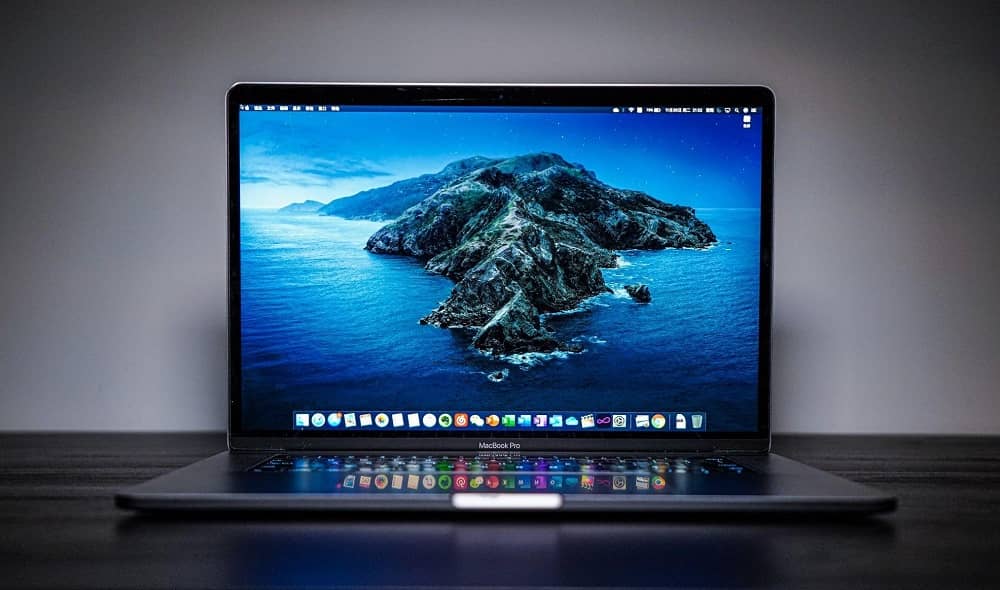
How to Install and Use a VPN on a MacOS
VPN (Virtual Private Network) is a connection service that allows users to access a site privately through a certain server network. VPN usually works so that users can access sites that might not be able to visit freely because the server network is blocked. The barrier or firewall is what makes the user end up needing another server network. In this practical guide we will explain how do you Install and Use a VPN on your MacOS device.

VPN functions so that users can use other server networks so that they can access restricted sites. In short, VPN can make things easier by opening to access to various restricted sites, whether it’s social media or other entertainment platforms.
In the professional world, VPNs are also used to access sites that are deliberately made on special servers. The goal is to minimize data theft due to accessing the internet via a public server.
On sites that are on a special server, only certain users can access because they usually need to enter the IP (Internet Protocol) address and password from the server, as reported by How to Geek.
In simple terms, a VPN connection can be likened to a toll road in the middle of the highway (internet). Users can use the toll road or VPN, in order to access certain sites or locations. Like toll roads, VPN connections have their own settings so they can be used. Every device can now access a VPN, including Apple Macbook laptops or often called Macs.
But before telling you about how to set up a VPN connection on Mac, we want to explain some things beforehand.
Do MacOS Devices Have Better Security?
You must have thought that a Mac or MacBook that uses the OS X or macOS operating system cannot get a virus and is much safer than Windows. Is that right? Then why are there so many antivirus apps for Mac OS X and macOS? What’s the point of installing a VPN in the first place?
In general, the OS X and macOS operating systems are safer than the Windows operating system. Apple has been very clear on providing its security details on its official website. With so many security features, it’s only natural that Macs are safer from viruses when compared to Windows.
On the other hand, even though Windows 10 is equipped with Windows Defender and various other security enhancements, the large number of users, especially among enterprises, still makes it inseparable from being the main target of attackers.
With the market share of Mac which is much smaller than the market share of Windows computers, the target for the virus is also automatically smaller. Virus makers will definitely prioritize platforms that can provide more profit than having to work hard for something that is less profitable.
Conversely, Windows has a much larger market share than OS X and macOS. Moreover, Windows has also become a popular OS in various companies, banks, offices, and other enterprise circles. Virus creators can definitely make more profit if they target a lot compared to platforms which target less.
Very few Viruses for MacOS Device
The two previous reasons are enough for virus creators to focus less on less profitable platforms and focus on much more profitable platforms. Thus, very few viruses are there and to attack Mac computers and OS X or macOS operating systems.
Even so, you still shouldn’t be careless because a small virus might infiltrate your Mac and make the OS X or macOS operating system problematic.
But no matter how safe it is, the risks of getting cybersecurity attacks are still there. That’s why you always need an additional protection, like the VPNs for example. You can use VPN to enhance your privacy on macOS, which can make you even better protected when browsing using this device.
How to Install and Use a VPN on a MacOS
However, how to use a Mac VPN is certainly different from other devices. At a minimum, you must meet a few requirements in order to connect your Mac to a VPN. The requirements are as follows:
- Know the IP address or domain name of a particular server that will be used to access the internet
- Know the username and password of the server’s IP address Know the type of VPN connection security protocol used on that server (PPTP or L2TP)
After fulfilling the requirements in above, here’s an explanation of how to set up a VPN connection on a Macbook, as reported by Apple’s official website.
Install and Use a VPN
Click the Apple icon on the Mac “home” page, then select the “System Preferences” menu. Select the “Network” option, then a page will appear listing internet connection availability. Select the plus icon on the list.
In the “Interface” pop-up menu, then select VPN. After that, select the type of VPN connection security protocol (PPTP or L2TP) in the “VPN Type” column. Usually this protocol type can be found from the VPN connection provider.
Next, name the VPN connection that will be created in the “Service Name” field, there are no special provisions for creating this name. Then, click the “Create” option. Enter the IP address or domain name of the server in the “Server Address” column. Then also enter the username that is usually specified by the VPN provider.
After that, click the “Authentication Settings” option. Enter the security code or password on the server, which is usually also determined by the VPN provider
Click the “Advanced” option to enter additional information (if available) such as DNS, Proxy, and TCP/IP server settings. Finally, click the “Apply” option and click “OKAY”. After completing the settings, the VPN connection will appear in the list of internet connection availability in the “Network” option earlier.
To start connecting to a VPN on your Macbook, select the name of the VPN from the list and click the “Connect” option.
Meanwhile, to delete the VPN connection, just click the minus icon in the list of internet connection availability. The method above was tested on a Macbook with the MacOS Mojave operating system version.
The different versions of the operating systems used, the location of the options for activating VPN on the Macbook may differ. That’s how to use a Mac VPN, hope this is useful.
Tips to Make Your Mac Safer
In order not to be exposed to viruses and malware, it is necessary to take various preventive measures. Yes, prevention is definitely better than cure. Instead of bothering to fix, it’s better to try to prevent before it all happens.
In general, Mac OS X or macOS are less likely to get viruses. This is actually because there are fewer virus makers for Mac. They prefer to make viruses for Windows.
Without further ado, here’s how you can protect your Mac:
Update Operating System and Software on Mac and MacBook
Apple always provides updates ranging from default applications, security patches, to updates to the entire Mac operating system. It is highly recommended to continue using the latest Mac operating system.
Update All Third Party Software and Applications
Apart from software and applications that come with Apple or from the App Store, of course you install software from third parties. Of course you can update these applications and software, but the method may be different for each application.
Be careful browsing the Internet
Who says Mac is immune to attacks from cyberspace. Never try to visit untrusted websites. In fact, sometimes our browser is smart enough to determine whether the website page is safe enough or not.


